
Careful! Ingress of water will cause physical damage!
- Ensure that the cable entry and cable face downwards after installation.
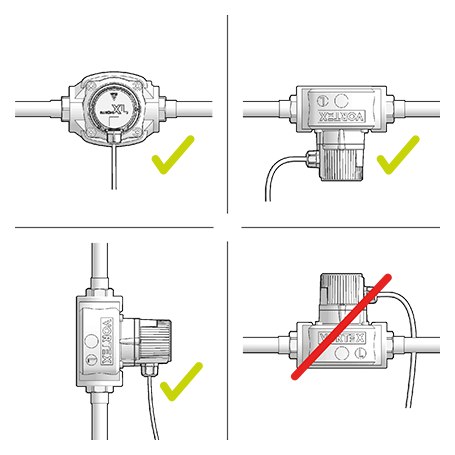
Select a suitable installation site and permissible installation position.
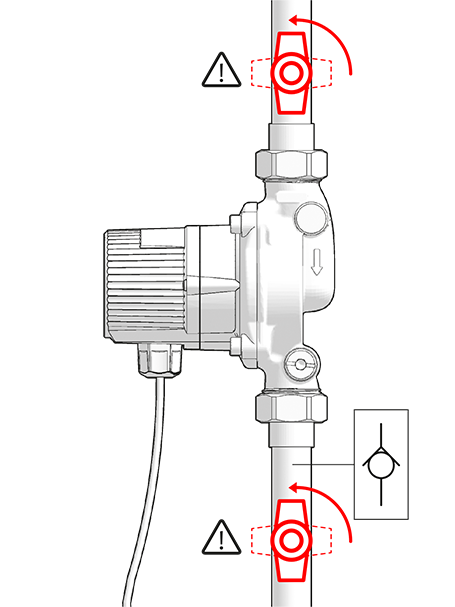
Make sure, that isolation valves and a check-valve (∆pmax = 0,2 kPa or 20mbar) are mounted.
- When installing the pump, ensure that it is not under strain.
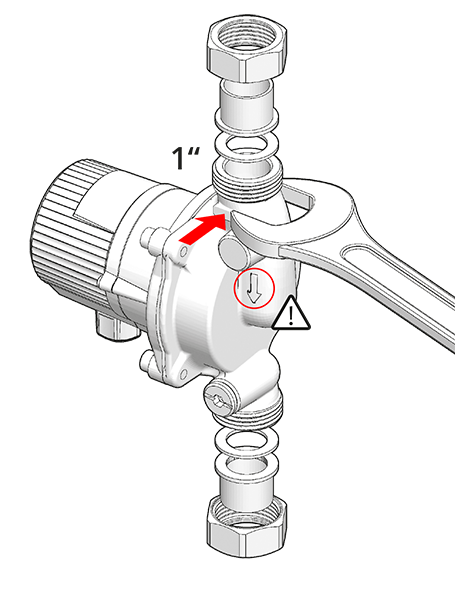
Look out for correct flow direction.

Danger! Pressurised system!
- Before working on the motor or pump connections, close the shut-off valves.
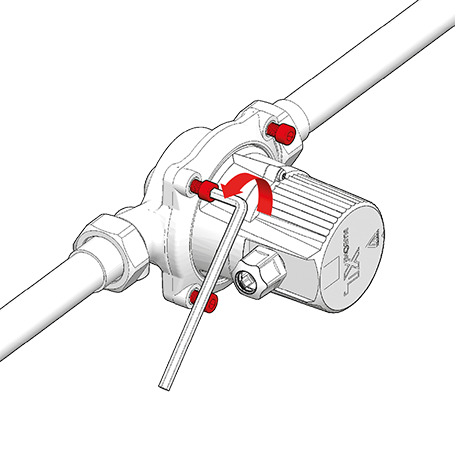
For turning the pump motor (cable outlet should show downwards) loosen M6-screws, …

… turn the pump motor, …
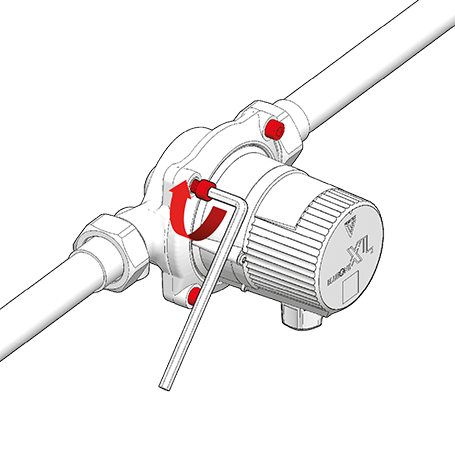
… then tighten the screws again
(max. 5 Nm).
- Fully separating the motor from the pump housing is only necessary for maintenance purposes (see chapters ‘Flushing and venting’ and ‘Maintenance’).
- The pump has dry-running protection. A lack of water in the pump housing is recognised immediately by the pump electronics. Rotor run will be interrupted in order to avoid early wear of the rotor bearing. In a fully vented circulation circuit, the pump will run uninterrupted.